Quick Fix Kunai 3 Gamepad Right Controller Problems
I know it’s pretty annoying when the Kunai 3 Gamepad right controller stops working. Lots of people run into this same issue, so you’re not alone here. Usually, it’s just a simple connection glitch or outdated firmware. The good news is, troubleshooting your gamepad isn’t hard at all.
I’ll walk you through a quick, easy fix for your Kunai 3 controller that works well on Android and Windows devices. If you want a complete guide for similar problems, check out this article on what to do when your controller is not working.
Why It’s Important to Fix Kunai 3 Gamepad Right Controller Problems
The Kunai 3 gamepad is made for comfort and accuracy. So, if the right controller is not working, your whole gaming session can get messed up. Here’s the thing—I’ve seen a lot of gamers face controller detection errors or connection issues that hurt their gaming performance.
- Controller Not Detected: Your device fails to recognize the controller.
- Unresponsive Inputs: Buttons or joystick not responding during gameplay.
- Weird Movements: Random movements or unexpected inputs on screen.
- Connection Drops: Battery or wireless connection cutting out suddenly.
Before assuming something is seriously broken, always check if there’s a firmware update available. Also, if you’re using third-party tools like Panda Gamepad Pro, be sure to address known Android 12 controller compatibility issues first — see this detailed Panda Gamepad Pro fix guide. It’s a good idea to check if your Kunai 3 is still under warranty, just in case the problem is a hardware fault.
Fixing these problems quickly means you get back to smooth, fun gaming sooner rather than later.
Common Reasons Your Kunai 3 Right Controller Might Stop Working
Figuring out why your controller stops working helps you pick the right fix quickly. Here are the main reasons your Kunai 3 gamepad might be giving you trouble:
- Firmware Update Failure – Sometimes an interrupted update or corrupted firmware causes the Kunai 3 Gamepad issue. Your controller can stop responding properly because of this.
- Hardware Defect – Physical damage from drops or bumps, or even manufacturing issues, can make your controller act strange or stop working completely.
- Software Conflict – Incompatible games, outdated drivers, or wrong OS settings can trigger a software conflict, causing connection problems or errors.
- Bluetooth Interference – Other devices using Bluetooth nearby might mess up your controller’s connection, leading to detection or input issues.
Usually, checking your device compatibility or updating software first is the quickest fix. Let’s dive into troubleshooting your controller next.
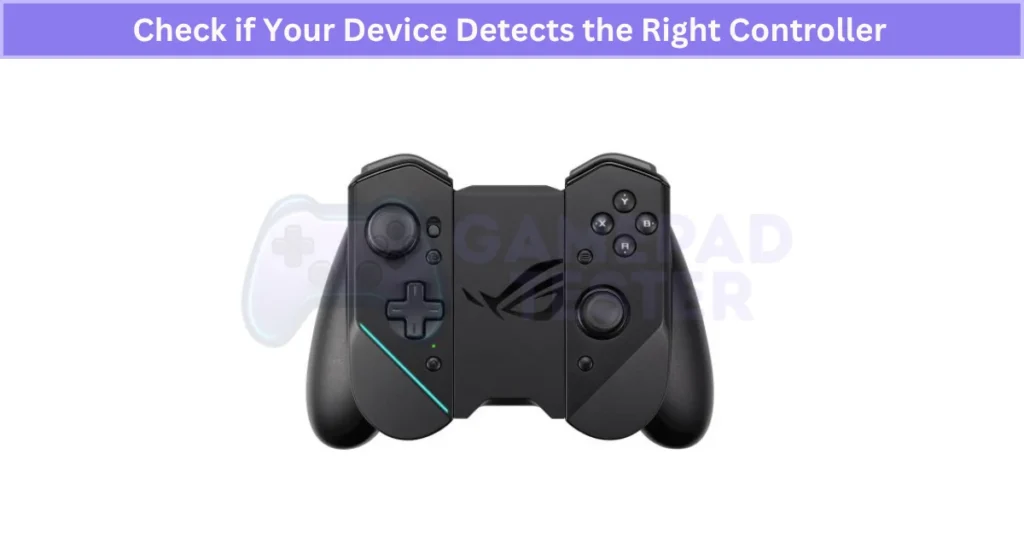
Check if Your Device Detects the Right Controller
First, check Kunai controller detection to quickly find what’s causing the issue. Here’s exactly how you can do that:
- Charge Controller Fully – Press the power button to see if the battery is charged. If it’s low, charge it with your Kunai charger.
- Power On & Pair Controller – Hold the pairing button to connect via Bluetooth pairing or Wi-Fi Direct connection.
- Check Settings – Go to your device Settings → Right Controller Version. If you see a version number, it’s detected properly.
- Turn Off Nearby Devices – Turn off other paired devices to avoid connection problems.
If the controller connects but movement feels inaccurate, you can run a quick controller gyro test to check whether the motion sensors detect rotation correctly.
If the controller is still not detected, restart your device before moving to the next Kunai 3 troubleshooting step.
Update or Reinstall Firmware to Solve Right Controller Problems
Bugs in the firmware can mess things up. If you’re also noticing haptic feedback issues on other controllers, this vibration troubleshooting guide for DualShock 4 might offer extra insight. Here’s exactly how to do a Kunai 3 firmware update safely.
- Connect Your Controller – Pair your right controller using Bluetooth or Wi-Fi Direct first.
- Stable Power Connection – Attach your controller to the Kunai charger with a USB-C cable for steady power.
- Open Kunai 3 Gamepad App – Make sure your Kunai 3 Gamepad app is updated to the latest version before starting.
- Follow On-Screen Steps – Go through the app’s easy instructions to update or reinstall firmware. Important: Don’t unplug your controller during the update or you might brick it.
- Restart and Test – Once done, restart your device and test the right controller.
After you update Kunai firmware via USB-C correctly, your controller should work normally again.
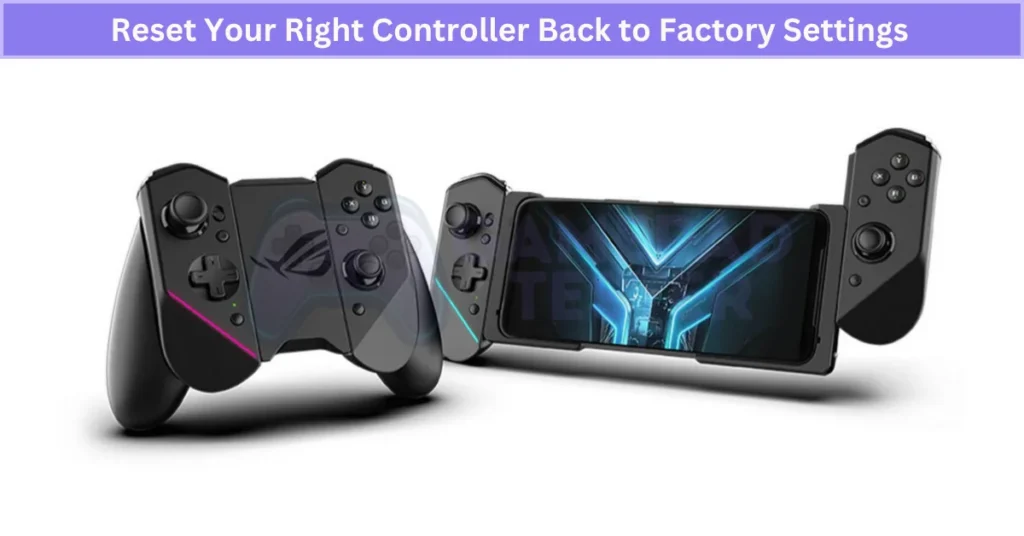
Reset Your Right Controller Back to Factory Settings
If nothing else worked, a quick reset can help fix controller issues by clearing settings and fixing software glitches. Resetting your Kunai 3 controller is easy—just follow these steps:
- Turn Off Controller – Hold the power button for about 3 seconds until the controller shuts off.
- Find Reset Button – Look near the USB-C port for a small hole—that’s the reset button.
- Press and Hold – Use a paperclip or toothpick and press the reset button for 5 seconds.
- Turn Controller On – After resetting, press the power button again to turn your controller back on.
- Reconnect Controller – Use Bluetooth reconnect or Wi-Fi Direct to pair it again with your device.
- Test Controller – Check buttons and sticks to make sure everything’s working normally. If any buttons still feel unresponsive, even after a reset, it might help to look into common button issues in DualShock 4 controllers for comparison.
Remember, a factory reset is your last step to fix controller issues before considering repairs. If you have customized settings, I’d suggest backing them up in the Kunai app first. After resetting, your Kunai 3 should function like new again.
Contact ASUS Support or Find a Nearby Service Center
If none of these solutions fixed your Kunai 3 controller issue, it’s probably time to contact ASUS support or visit an ASUS service center. Here’s how you get quick Kunai 3 controller help:
- Check Warranty Status – Before anything else, confirm if your controller is still under warranty.
- ASUS Support – Visit the official ASUS website or use the Kunai 3 Gamepad app to get online help.
- Scan QR Code – Use the Kunai app to scan the QR code on your controller for fast support links.
- ASUS Repair Service – Find your nearest ASUS service center on their official site or through the app.
Make sure to have your purchase receipt or product serial number ready to speed things up. Even if quick fixes don’t work, ASUS support can still get your controller working again.
Things to Check Before Troubleshooting
Quick Kunai 3 Pre-Checks to Save Time
Doing a quick Kunai 3 pre-check saves you from extra troubleshooting steps later. Here’s what to check first:
- Controller Charging – Make sure your controller is fully charged.
- Bluetooth Connection Settings – Double-check your Bluetooth settings or wired connection.
- Inspect Connector Pins – Quickly inspect connector pins for any dirt or damage. If dirty, gently clean them with a microfiber cloth and isopropyl alcohol.
Use the original USB-C cable to keep your wired connection stable and reliable.
Make Sure Your Kunai 3 Controller Has Enough Charge
Your Kunai controller needs enough power to work well. A low charge can cause random disconnects or slow responses. Here’s how you check quickly:
- Charge using the Kunai charger or a good-quality USB-C cable (about 2 hours for a full charge).
- Check the LED battery status:
- Red: Low battery
- Blue: Currently charging
- Green: Fully charged
Don’t leave your controller charging overnight—this avoids battery wear. Also, check your charging cable regularly for damage.
Verify Bluetooth or Wired Settings Before Troubleshooting
Connection issues often come from incorrect settings. So here’s how you quickly verify Bluetooth or wired setups:
- Bluetooth: Turn on Bluetooth on your device, and make sure your Kunai appears under “paired devices” on Android.
- Wired (OTG mode): Use the original USB-C cable, and enable OTG wired mode on your device settings.
- Restart: If things aren’t connecting easily, restart your device. If that doesn’t help, you might be dealing with a broader pairing problem — like this DualShock 4 not connecting issue that many gamers face.
Sometimes just restarting fixes connection issues faster than detailed troubleshooting.
Clean Your Kunai 3 Connector Pins for Better Connectivity
Cleaning your Kunai 3 connector pins regularly helps maintain a stable connection and prevents pairing issues. Dust and dirt buildup on the pins can block signals or cause charging problems. Luckily, cleaning is easy if you’re careful. Here’s what you should know:
How Dust Affects Your Kunai 3 Connector Performance
Dust and dirt are common reasons for connection problems with your Kunai 3. Here’s why:
- Dust blocks electrical contact on the pins.
- It leads to weak signals or no connection at all— and sometimes, debris can even cause stick drift issues like those seen on DualShock 4.
- Dirty controller connectors may cause charging or syncing issues.
Also, if you live somewhere humid, dust buildup can cause corrosion, making connection issues worse over time.
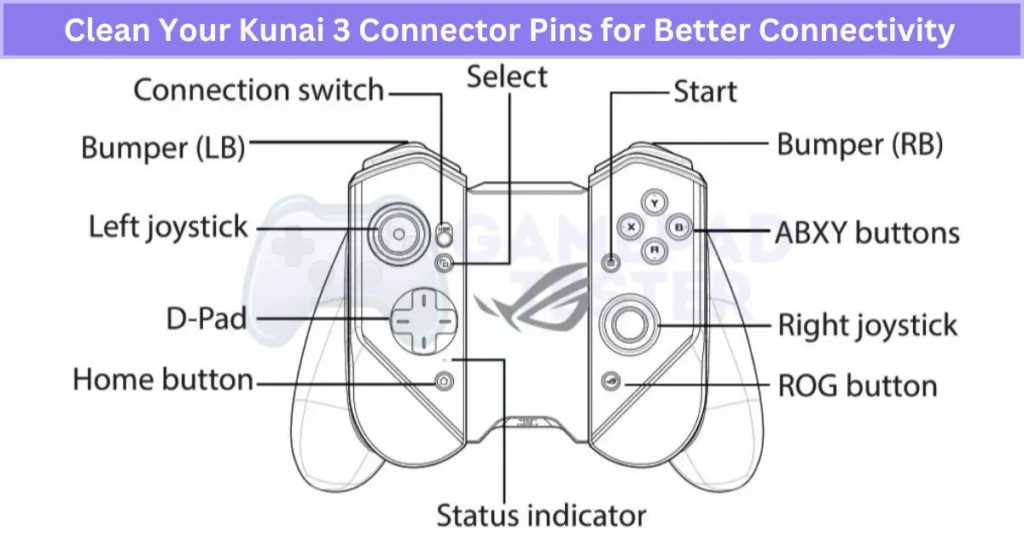
How to Clean Kunai 3 Pins Without Causing Damage
Cleaning your gaming controller safely is important—pins are delicate. Follow these steps carefully:
- Power off your controller completely before cleaning.
- Get a microfiber cloth and moisten it lightly with 90% isopropyl alcohol (never soak it).
- Gently wipe the pins. Avoid using sharp objects or metal tools—they can damage pins permanently.
- Let the pins dry completely (a few minutes is enough) before reconnecting or powering up again.
After cleaning, your Kunai 3 should connect easily again. And if you’re troubleshooting specific input failures, this guide on fixing PS4 controller touchpad issues may help pinpoint the problem further.
Real User Fixes & Community-Backed Solutions
I found a Reddit thread where an Asus ROG Phone 3 user shared several issues with their Kunai 3 controllers: the left controller’s RGB light wouldn’t turn on, the controllers wouldn’t connect via USB mode in the bumper case (only Bluetooth), and the controllers wouldn’t charge while in the bumper.
Community members suggested checking and cleaning the connectors, as corrosion could cause USB connectivity and charging problems. Some noted that the TwinView Dock 3 might lack battery pass-through, causing charging issues in bumper mode.
Others also reported odd behavior like loss of audio when using controllers on PC, showing how controller problems can extend beyond buttons. The general advice was to clean the contacts carefully and, if problems persist, consider an RMA or replacement since physical damage inside the Kunai is less likely without drops.
Final Verdict
If your Kunai 3 right controller isn’t working, don’t panic—most issues are easy to solve. Common causes include outdated firmware, low battery, or dirty connector pins. Start with the basics: fully charge the controller, check Bluetooth or wired settings, and clean the pins. If that doesn’t help, updating or reinstalling the firmware usually works.
A quick factory reset often resolves software glitches, but if none of these steps work, contact ASUS support for a professional solution. With these simple steps, you can fix Kunai 3 Gamepad right controller problems and get back to smooth, lag-free gaming without stress.
FAQ’s
How to connect kunai gamepad 3?
To connect your Kunai Gamepad 3, press and hold the Home button for 3 to 5 seconds. When the status indicator blinks blue, the controller enters pairing mode. Then, turn on Bluetooth on your ROG Phone and search for nearby devices. Select your gamepad to complete pairing.
How to update kunai gamepad 3?
To update your Kunai Gamepad 3, open the Kunai 3 Gamepad app on your device. Use the app to manage settings and start the firmware update or reinstallation process. Follow the on-screen instructions and wait for the update to finish before using your controller.